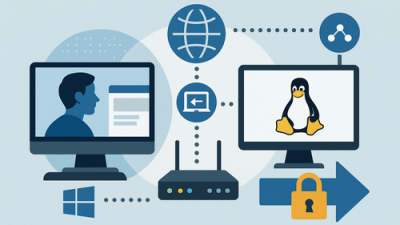
Sounds kinda intimidating, right? As though you were trying to hack NASA with a black screen and green letters. But really, it’s much more relaxed than it sounds. Nowadays, accessing a Linux system from your Windows PC is easier than making toast.
It almost works straight from the box — just a little courage and a few clicks (and yes, Google’s still your co-pilot). All you really need is a bit of patience, some basic understanding of your configuration, and a couple of tools that take minutes to install.
Not just for geeks anymore
Once it’s all in place, you’re in — controlling your open-source machine from wherever, even across town. Desktop sharing is no longer some wizard-level sorcery for sysadmins with beards. Now even your grandma could give it a shot (well, kind of).
Do you really need it?
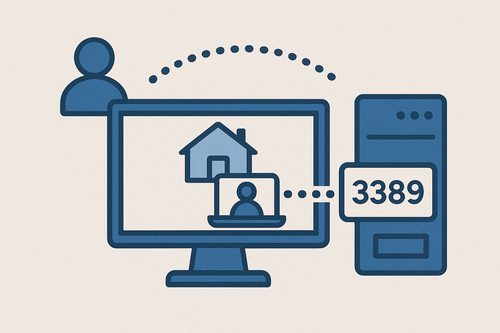
Maybe you’re reading this and wondering: “Do I even need this?” Let’s break it down. Suppose you’re managing a home server, accessing documents remotely from your office, or just experimenting with Linux in a VM — then yes, this is super useful.
And hey, even if you’re simply too lazy to get up from the couch, remote access will do the trick. Lots of folks use Linux boxes as media servers, torrent runners, or dev playgrounds. So why walk over when you can manage everything right from your cozy Windows chair?
Especially when your Linux-powered device is sitting quietly in a corner — no monitor, no keyboard, no drama. Just waiting for you to take the reins like a digital overlord.
Preparing your Linux setup
Before you jump in, you’ll want to get your Linux machine ready. Out of the box, it’s not always primed for remote sessions.
First off, make sure you’ve got access to the terminal — either locally or via SSH. Also, ensure you have root privileges — without those, you’re not exactly the king of your castle.
What you’ll likely need to do:
- Install the needed packages (xrdp, tightvncserver, etc.)
- Check that the proper ports are allowed through the firewall (ufw, firewalld, etc.)
- Give the right permissions to the user account you’ll log in with
If your Linux setup is behind a router, you might need to set up port forwarding. Nothing wild — just a couple tweaks, and again, Google has your back.
Choosing the best protocol
Here’s where the fun begins. You’ve got options. Picking a remote protocol is like choosing a drink at a fancy café — depends on your taste and what you’re doing.
- SSH — rock-solid, encrypted, but no visuals — it’s all command-line.
- VNC — gives you the whole desktop, but not always snappy if your connection lags.
- RDP — a Windows-friendly favorite, pairs well with xrdp, runs smooth.
Wanna get fancy? Check out NoMachine, X2Go, SPICE. But if you’re just starting, RDP or VNC will keep things simple without frying your brain.
Built-in Windows tools — yes, you already have them
Good news — you already have what you need. Windows comes with a built-in remote desktop client.
Press Win + R, type mstsc, hit Enter. Boom — the interface opens. Pop in the IP of your Linux unit, throw in your login, and you’re in.
Just be sure that your Linux environment is running xrdp. Some desktop environments like GNOME might throw a tantrum, but with the right tweaks, it’s smooth sailing. If things go sideways, there’s always XFCE — lightweight, friendly, and doesn’t demand much.
Setting up a VNC server step-by-step
Want more control and a setup you can fine-tune to your heart’s content? Then VNC might be right up your alley. It may not be the flashiest option, but it’s reliable and gets the job done.
Among the top contenders are TigerVNC and TightVNC — both time-tested choices in the Linux world.
Here’s a rough game plan to get things rolling:
- Install the VNC server using the terminal:
sudo apt install tigervnc-standalone-server - Set a password using vncpasswd
- Create a configuration file that tells VNC which desktop environment to load
- Fire up the server and make sure the ports are open if needed
VNC shines brightest when paired with lightweight desktop environments. XFCE and MATE are top picks — they’re snappy, resource-friendly, and great for remote work.
Plus, they won’t make you feel like you’re trying to use the internet through a dial-up connection.
RDP + xrdp = familiar and fast
If you’re after something that looks and feels like your usual Windows workspace, then pairing xrdp with the built-in RDP client is the move. It’s one of the easiest combos to set up and use — no third-party tools needed, just what comes pre-installed.
To get xrdp going, run:
bash
KopijuotiRedaguoti
sudo apt update
sudo apt install xrdp
Then double-check that the service is running with:
bash
KopijuotiRedaguoti
sudo systemctl status xrdp
Hop over to your Windows PC, launch the remote desktop client (mstsc), punch in the IP of your Linux box, and you’re good to go.
Troubleshooting the black screen
Now, heads-up: if you end up staring at a black screen after login — don’t freak out. It’s a classic xrdp hiccup.
Usually, switching to a simpler desktop environment like XFCE does the trick. A little tweak here and there, and you’ll be back in action.
Linux may play a little hard to get, but once you get through the quirks — it’s a keeper.